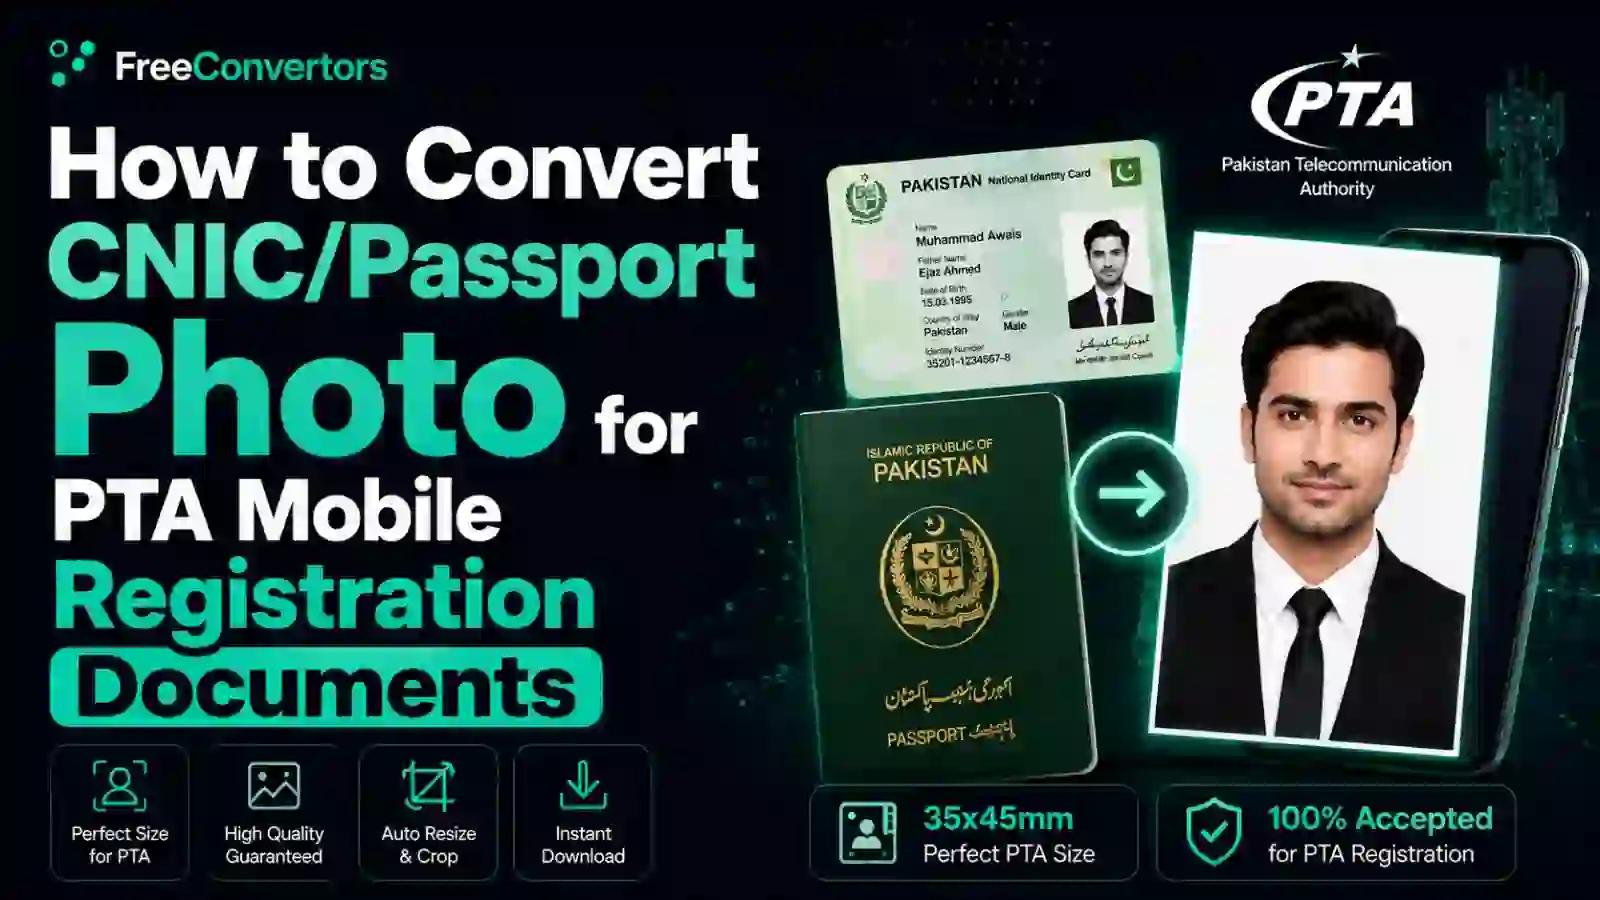
PTA Document Upload Guide: CNIC & Passport File Requirements
Registering a new phone with PTA sounds simple until you're staring at an upload button that keeps rejecting your CNIC scan. The short answer: PTA's DIRBS portal accepts JPG and PDF files under 5MB, and your CNIC or passport photo needs to be a clear, well-lit scan showing all text and photo details readable, uploaded at dirbs.pta.gov.pk under the device registration section. Getting that file into the right format and size is usually the part that trips people up, not the registration process itself. This guide walks through exactly how to prepare, convert, and upload your documents correctly the first time.
Why Document Format Actually Matters for PTA Registration
PTA's DIRBS (Device Identification, Registration and Blocking System) validates your IMEI against your CNIC or passport information before approving a device. If the image you upload is too large, blurry, in the wrong format, or missing a required section (like the back of your CNIC or your passport's entry stamp), the system either rejects the file outright or flags your application for manual review — both of which delay getting your phone unblocked.
Most rejections aren't actually about your identity documents being wrong. They're about file preparation: a photo taken at an angle, a scan that's 12MB when the limit is 5MB, or a HEIC file from an iPhone that the portal simply doesn't recognize. Fixing these is mechanical, not complicated, once you know what the portal expects.
PTA Document Requirements: Quick Specs Table
Document Type Accepted Format Max File Size Both Sides Required? CNIC / NICOP JPG or PDF Under 5MB Yes — front and back Passport (bio-data page) JPG or PDF Under 5MB Photo page + entry stamp page Travel/arrival documents JPG or PDF Under 5MB Boarding pass or arrival stamp
Registration type matters here too. If you're a resident registering a phone for personal long-term use, you'll typically register with your CNIC. If you're an overseas Pakistani or a traveler who brought a device from abroad, passport-based registration is the correct route — using CNIC instead in that situation usually means losing your free registration allowance, so it's worth confirming which category you fall under before you start uploading anything.
Step-by-Step: Converting Your CNIC or Passport Photo for PTA Upload
Step 1 — Take or scan a clear, well-lit photo. Lay your CNIC or passport flat under good, even lighting. Avoid shadows across the text, glare from overhead lights, and cropped edges. If you're using a phone camera instead of a scanner, hold it directly overhead rather than at an angle — perspective distortion is one of the most common reasons documents get flagged.
Step 2 — Check the file format. Most phone cameras save images as JPG, but newer iPhones default to HEIC, which the DIRBS portal doesn't accept. If your file isn't already a JPG, convert it first using a tool like HEIC to JPG — this takes seconds and avoids a rejected upload later.
Step 3 — Crop and straighten the image. Trim out everything except the document itself. A photo that includes your desk, hand, or surrounding clutter looks unprofessional to the system's automated checks and can obscure edge details PTA needs to verify. Our image converter tool lets you crop and adjust orientation in the same step as converting format, which saves you from juggling multiple apps.
Step 4 — Compress the file if it's over 5MB. Modern phone cameras often produce images in the 8–15MB range, well above PTA's limit. Rather than manually reducing photo quality in your camera settings, run the file through an image compressor that reduces file size while keeping text and photo details sharp enough to pass verification — this matters more than people expect, since over-compression can blur the very details PTA needs to read.
Step 5 — Convert to PDF if required. Some categories of DIRBS registration, particularly passport-based submissions with multiple pages (photo page plus entry stamp), work more smoothly as a single combined PDF rather than separate image files. Use JPG to PDF to merge multiple scans into one document, which also makes it easier to keep your submission organized if PTA support later asks you to resend documents.
Step 6 — Upload to the DIRBS portal. Log into dirbs.pta.gov.pk, navigate to the device registration section, select CNIC or passport-based registration, and upload your prepared files. Double-check the preview thumbnail before submitting — if it looks blurry or cropped incorrectly on your own screen, it will look the same way to PTA's reviewers.
For a deeper walkthrough specifically on getting CNIC dimensions and formatting right for Pakistani government documents more broadly, our guide on converting CNIC-size photos for Pakistani documents covers the sizing conventions NADRA and other departments expect, which overlaps significantly with what PTA's portal looks for.
Common Reasons CNIC or Passport Uploads Get Rejected
A few patterns show up again and again in PTA registration complaints, and almost all of them are avoidable with the right prep work:
- File size over the limit. Anything above 5MB typically fails to upload or times out mid-submission. Compressing first, rather than letting the portal attempt the upload and fail, saves time.
- Blurry or low-resolution scans. If you can't read the CNIC number or passport MRZ (machine-readable zone) clearly on your own screen at full zoom, PTA's system likely can't verify it either.
- Wrong file type. HEIC, WEBP, or other non-standard formats need converting to JPG or PDF before upload — the portal won't auto-convert them for you.
- Missing pages. Passport-based registration usually needs both the photo/bio-data page and the page showing your entry stamp into Pakistan. Submitting only one page is one of the most common causes of delayed approval.
- Mismatched information. If the name or CNIC number on your uploaded document doesn't match what you entered in the registration form, the system flags it for manual review, which can add days to processing.
If you've already hit a rejection and aren't sure why, resizing and re-scanning tends to solve more cases than people expect. Our guide on fixing image quality and compression issues breaks down the balance between file size and image clarity, which is exactly the trade-off causing most PTA upload failures.
CNIC vs Passport Registration: Which Documents Apply to You
Situation Registration Type Primary Document Needed Pakistani resident buying a phone locally CNIC-based CNIC front and back Overseas Pakistani bringing a phone from abroad Passport-based Passport photo page + entry stamp Tourist visiting Pakistan under 60 days Temporary/no registration needed N/A (unless staying longer) Tourist staying over 60 days Passport-based temporary registration Passport + entry stamp
Overseas Pakistanis get one device registered tax-free per calendar year using passport details, provided registration happens within the eligible window after arrival. Using a CNIC instead of a passport in this situation is one of the more costly mistakes people make, since it typically forfeits that free allowance entirely and routes the device through standard tax calculation instead.
Formatting Your Photo Correctly Before You Even Scan
A lot of upload problems trace back to the original photo, not the conversion step. If you're photographing your CNIC or passport with a phone rather than using a flatbed scanner:
- Use natural daylight or bright indoor lighting, positioned to avoid glare on the laminated CNIC surface.
- Keep the document flat — curling or bending distorts the digits, especially the CNIC number and IMEI-adjacent fields if you're also documenting the phone box.
- Fill the frame with the document, leaving a small margin, rather than photographing it from a distance and cropping later — resolution loss from aggressive cropping is a common cause of rejected uploads.
- Avoid using auto-enhance or beauty filters if you're photographing with a phone that applies them automatically; these can subtly distort text sharpness.
If your document photo also needs proper passport-style formatting for a separate application (rather than just a scan for PTA), our guide on making a passport-size photo online for free covers dimension and background requirements specifically, which is a related but distinct process from what PTA's DIRBS portal asks for.
Understanding File Resolution and DPI for Document Scans
One detail that often gets overlooked: resolution matters more than raw file size for whether text remains legible after compression. A high-DPI scan compressed properly stays sharp; a low-DPI photo, even if it's under 5MB naturally, may already be too blurry to pass verification before you even touch compression settings.
If you're scanning documents regularly — not just for PTA but for visa applications, bank KYC, or other government processes — understanding how DPI affects image conversion quality is worth the five minutes it takes to read our explainer on what DPI means for image conversion. It'll save you from re-scanning documents multiple times when the first attempt gets rejected for clarity reasons.
What Happens After You Upload Your Documents
Once your CNIC or passport documents are successfully uploaded and your IMEI is submitted, DIRBS calculates any applicable tax based on your phone model's IMEI-linked value, if tax applies to your registration category. Payment can typically be made through mobile banking apps or bank transfer, and processing generally takes a day or two once payment clears, though it can take longer if your documents were flagged for manual review.
It's worth registering within the eligible window after your phone first connects to a Pakistani network — missing that window usually means losing access to reduced-cost or free registration options and paying full tax instead. Keep your payment confirmation and a copy of your uploaded documents until you've confirmed your device shows as compliant, in case PTA support needs anything resent.
Frequently Asked Questions
How do I convert my CNIC photo for PTA mobile registration? Take a clear, well-lit photo or scan of your CNIC, crop it to remove background clutter, convert it to JPG or PDF if it's in another format, and compress it to under 5MB before uploading it to the DIRBS portal at dirbs.pta.gov.pk.
What is the correct file format for PTA registration documents? PTA's DIRBS portal accepts JPG and PDF files. If your document was captured in HEIC (common on iPhones) or another format, convert it to JPG before attempting to upload it.
What is the maximum file size for CNIC upload on PTA? Files must generally be under 5MB. Phone camera photos often exceed this by default, so compressing the image before upload is usually necessary to avoid a failed submission.
Can I use a passport instead of CNIC for PTA registration? Yes, and for overseas Pakistanis or travelers bringing a device from abroad, passport-based registration is actually the correct route to access free or reduced-tax registration allowances — using CNIC instead in that situation typically forfeits the exemption.
Why is my CNIC image getting rejected on the PTA portal? Common causes include exceeding the file size limit, blurry or angled photos, incorrect file formats like HEIC, or missing pages (such as only submitting one side of a two-sided CNIC).
Do I need both sides of my CNIC for PTA registration? Yes, both the front and back of your CNIC are typically required, since the back contains address and additional identifying information the DIRBS system may cross-reference.
Final Takeaway
Most PTA registration delays come down to document preparation, not the actual registration process — a blurry photo, an oversized file, or the wrong format will hold you up far more often than any issue with your actual identity documents. Scan clearly, convert to JPG or PDF, keep files under 5MB, and double-check that both required pages of your CNIC or passport are included before you submit.
If you're preparing documents right now, start with our image compressor to get your file size under the limit, then use JPG to PDF if your registration category needs a combined document. Once you're through the conversion steps, the official PTA DIRBS portal remains the authoritative place to complete registration and check your device's current compliance status.